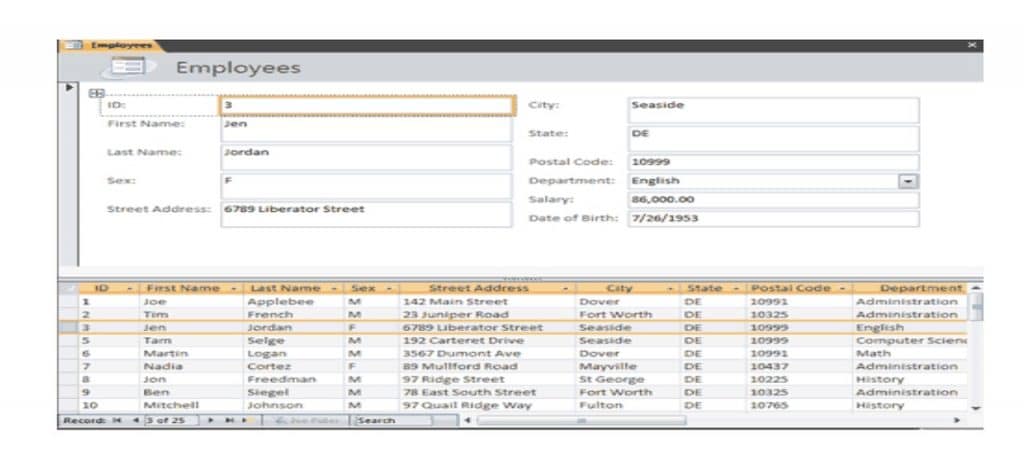
Access forms are much like paper forms: you can use them to enter, edit, or display data. They are based on tables. When using a form, you can choose the format, the arrangement, and which fields you want to display.
Access can automatically create several types of forms. For example, when you click the form button on the Create tab, Access places all fields in the selected table on a form.
Step To Create Forms In Access
- Open the Navigation pane
- Click the table or query on which you want to base your form
- Activate the Create tab
- Click Form in the Forms group. Access creates a form
How To Save A Form In Ms-Access
After you create a form, you can save it. You can open a saved form at any time. To save a form, the following steps may be adopted:
- Click the Save button on the Quick Access toolbar. Access saves the form unless you are saving for the first time. If you are saving for the first time, the ‘Save As’ dialog box appears.
- Type the name you want to give the form
- Click OK. Access saves the form. You can now access the form by using the Navigation pane.
You can also save by right-clicking a form’s tab and then selecting ”Save” from the menu that appears. Access saves the form unless you are saving for the first time. If you are saving for the first time, the Save As dialogue box appears. Type the name you want to give the form and then click OK. Access saves the form. You can now access the form by using the Navigation pane.


Responses